Currently, a large number of programs for recovering deleted files and partitions on a hard disk or USB drive are available. All these programs are based on the fact that when a file is deleted from the file system, its data and metadata continue to be stored on physical media until they are overwritten with new files. Data recovery software for PC allows you to scan a drive and find deleted files by signature or by analyzing unused data blocks. However, the classic file recovery apps does not work properly with SSDs (Solid State Drive). Let’s see why.
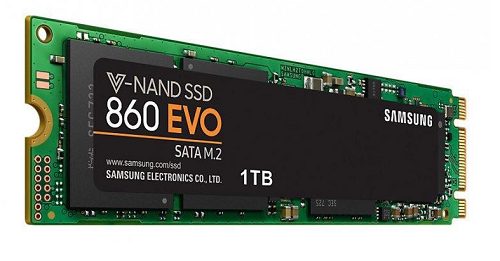
Deleting Files on an SSD and the TRIM Command
The process of deleting files on an SSD is fundamentally different from the process of deleting files on a traditional hard drive. When a file is deleted, the operation system sends an ATA interface TRIM command to the SSD device, which reports that this data is no longer needed. The SSD device marks these cells for deletion and sets all cells to zero in the background (with the separate garbage collection process). This allows you to quickly save data in the unused SSD cells and reduces wear of storage cells. Thus, the TRIM command forces the drive to physically clear unused data blocks.
As a result, any file recovery software sees only zeros in the SSD cells with deleted data. This means that if your SSD-drive is connected to the computer via the SATA interface, then it is almost impossible to recover deleted files from it. This also applies to the NVMe SSDs. For such devices, there is an analogue of the TRIM command, which is called – Deallocate (supported on Windows 8 and newer).
SSD Devices Detection in Windows
Windows by default will enable the TRIM command for SSD drives that are connected via the ATA/IDE/SATA/M.2/PCI Express interface (but not USB!) in the AHCI mode. In addition, TRIM is enabled only for NTFS and REFS file systems. When these conditions are met, the TRIM command is automatically executed and the SSD background process cleans the cells almost immediately after you delete the file from the file system. TRIM is enabled by default on MacOS for the Apple SSDs with APFS and HFS+ file systems. The Trim command is also sent immediately after the file is deleted.
You can recover deleted data files and partitions from an SSD drive if:
- Your SSD is connected to the computer via USB or FireWire port;
- You are using a RAID array of several SSD devices (Windows doesn’t enable TRIM for such a storage device);
- You are using old OS version: Windows Vista, Windows XP, MacOS up to OS X 10.10.4 (TRIM is not supported in these versions);
- TRIM is disabled at Operating System level;
- Your SSD does not support TRIM commands (possibly on older SSD models);
- The SSD is not formatted in the NTFS file system (for example, used FAT32, exFat, etc.).
How to Recover Data from SSD after File Deletion Using the EaseUS Data Recovery Wizard?
Let’s see if is it possible to recover deleted files from the Trim-enabled SSD using the popular data recovery software – EaseUS Data Recovery Wizard Free (there is a version for Mac and Windows).
The free version of EaseUS Data Recovery Wizard Free allows you to recover up to 500 MB of deleted files (or up to 2 GB if you share the program on Facebook or Twitter). EaseUS Data Recovery Wizard is one of the best programs for quickly recovering lost data from various drive types.
Key features:
- Data recovery from HDD, memory cards, external USB drives;
- File recovery after deletion and quick formatting;
- File system support: HFS+(macOS), NTFS/NTFS5/ReFS (Windows), ext2/ext3 (Linux), FAT/ExFat;
- Logical partition recovery.
You can view all the available features on the https://www.easeus.com.
So, I have an SSD drive connected to my computer. Let’s check that one of the local disks (21 GB) is detected as an SSD using the PowerShell command:
Get-PhysicalDisk | Select Number, PhysicalLocation, MediaType, Size

Check if Trim is enabled for it:
fsutil behavior query DisableDeleteNotify

The following result indicates that TRIM is enabled:
NTFS DisableDeleteNotify = 0 (Disabled)
Next I’ll delete one file from the SSD and try to restore it using the EaseUS Data Recovery Wizard:
- I downloaded and installed the EaseUS Data Recovery Wizard Free In order to prevent accidentally overwriting deleted blocks on a disk, you shouldn’t install the EaseUS Data Recovery Wizard on the same disk from which you want to recover files!
- Now I delete a file from the SSD drive;
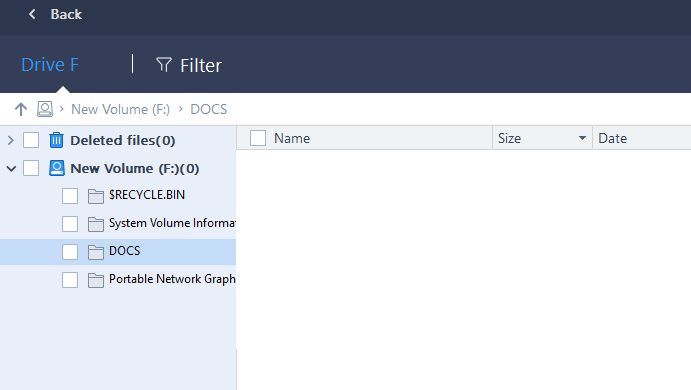
- Run a data recovery wizard in the EaseUS Data Recovery to perform a full scan of the SSD drive. Wait until the disk scan is complete. In my case, the data recovery program could not find the deleted file.
Now try to disable TRIM with the command:
fsutil behavior set DisableDeleteNotify 1
If TRIM is disabled successfully, you will see a following message: “NTFS DisableDeleteNotify = 1 (Enabled)”. On the macOS environment, you can disable TRIM with the command:sudo trimforce disable

I delete another file from the SSD drive and run a full disk scan with the EaseUS Data Recovery Wizzard. The file recovery program will instantly find the deleted file and offer to recover it.
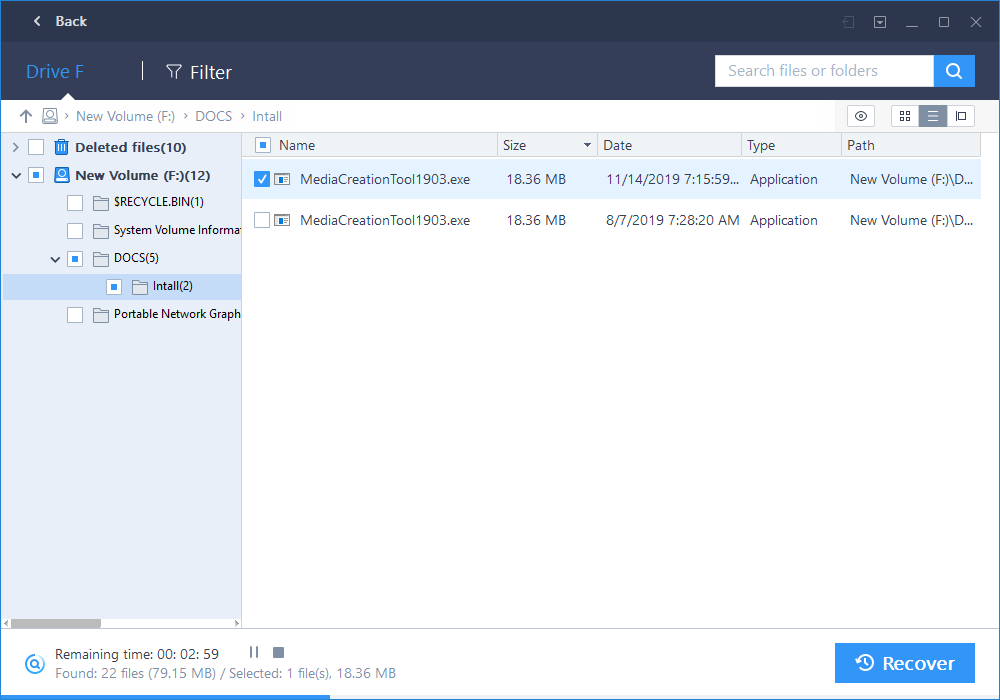
Select the file you want to recover and click the Recover button. When restoring a file, it is advisable to specify a different disk, so as not to accidentally overwrite the metadata on the source drive. To enable the TRIM mode for your SSD, run the command:
fsutil behavior set DisableDeleteNotify 0
So, you cannot recover a deleted files from a Trim-enabled SSD drive. Even scanning file signatures doesn’t help.
To prevent the TRIM command from being applied to your SSD, you can
- Connect your SSD device via USB, FireWire or Thunderbolt interface;
- Disable TRIM on the OS-level. However, this reduces your SSD life span and maximum writing speed.

