The first thing an administrator can come across when deploying Office 2019 in an enterprise environment is that now you cannot download an Office 2019 installation ISO image via Volume Licensing Service Center (VLSC). Office 2019 installation files are now only available on the Office CDN (Content Delivery Network) on the Internet. Another surprise is that Office 2019 distribution is deployed using the Click to Run installer (like Office 365) instead of a usual MSI package. In this post we’ll look at how to prepare and deploy Enterprise version of Office 2019 in your corporate environment (manually, using GPO or SCCM).
Here are the main Office 2019 features you should know prior to deploying it in your company:
- You can install Office 2019 only on Windows 10 or Windows Server 2016/2019;
- Office 2019 installer is based on Click-to-Run (C2R) technology instead of the traditional MSI installer like the previous Office versions;
- You cannot use Office 2019 together with any of the previous Office versions or any of Office 365 apps (for example, you won’t be able to install Skype for Business Click to Run from Office 365);
- Office Deployment Tool (ODT) is now used to configure Office 2019 installation settings instead of the Office Customization Tool (OCT);
- The Office 2019 package is always installed on the system drive.
Before deploying Office 2019, get the Office product key from your account on the VLSC website (it may be a KMS host key or a MAK).
To deploy Office 2019 using Click-to-Run, you will need a special tool: Microsoft Office Deployment Tool – ODT (it is also used to deploy Office 365 ProPlus).
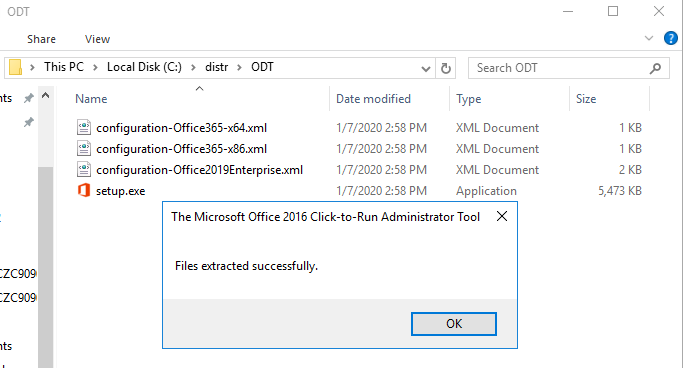
Download the Microsoft Office Deployment Tool (https://www.microsoft.com/en-us/download/details.aspx?id=49117), run the officedeploymenttool_12325-20288.exe and extract the contents of Office Click-to-Run Administrator Tool to a local folder on your computer.
As you can see, there are three sample XML files in the folder: configuration-Office365-x64.xml, configuration-Office365-x86.xml and configuration-Office2019Enterprise.xml. The setup.exe is used to download distribution files and run the Office package installation on a computer.
In this case, we do not need the Office 365 configuration files. Let’s look at configuration-Office2019Enterprise.xml file that contains the configuration example of Office 2019 Enterprise for the Volume License channel. Here is the XML file structure:
<Configuration>
 <Add OfficeClientEdition="64" Channel="PerpetualVL2019">
  <Product ID="ProPlus2019Volume">
   <Language ID="en-us" />
  </Product>
 <Product ID="VisioPro2019Volume">
   <Language ID="en-us" />
 </Product>
 <Product ID="ProjectPro2019Volume">
   <Language ID="en-us" />
  </Product>
  </Add>
 <!-- <RemoveMSI All="True" /> -->
 <!-- <Display Level="None" AcceptEULA="TRUE" /> -->
 <!-- <Property Name="AUTOACTIVATE" Value="1" /> -->
</Configuration>
Let’s consider the main parameters:
OfficeClientEdition="64"– install the 64-bit version of Office 2019;Channel="PerpetualVL2019– installation of Office 2019 with Volume License;<Language ID="en-us" />— install English edition of Office;<!-- <RemoveMSI All="True" /> -->— prior to Office 2019 installation, remove all previous Office versions installed through Windows MSI. This parameter is commented out, but before you deploy Office 2019, you must enable it to prevent deployment errors;<Product ID="ProPlus2019Volume" PIDKEY="" >— you can specify the components of your Office package (ProPlus2019Volume, Standard2019Volume, ProjectPro2019Volume, ProjectStd2019Volume, VisioPro2019Volume, VisioStd2019Volume) to be installed. Specify your enterprise key (usually a MAK key) in the PIDKEY=”” parameter;- Using the
<ExcludeApp ID = "PowerPoint" />parameter you can install only selected Office apps (by default, the C2R installer installs all Office applications).
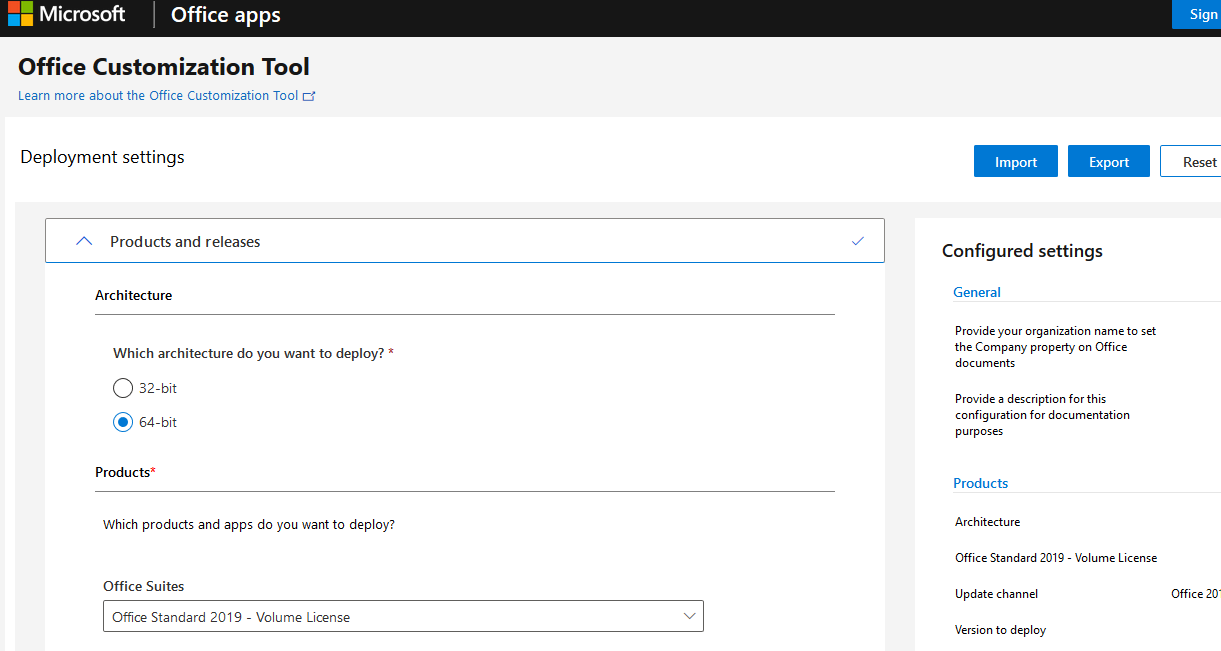
Check the following link to get more information about the parameters of Office 2019 installation XML file https://docs.microsoft.com/en-us/deployoffice/office2019/deploy#create-the-configurationxml. To make it more convenient for the administrators, Microsoft offers a simple graphic online wizard to create an XML file to deploy Office 2019/365 — https://config.office.com/.
To generate an XML file for Office 2019, select:
- Office Suites: Office Standard 2019 – Volume License
- Update channel: Office 2019 Perpetual Enterprise
Also, you may specify that Office installation files must be taken from a shared folder in your local network instead of Microsoft CDN (Installation -> Local source -> Source path).
After you have filled in all forms, click Export, download the XML file and save in to the directory with the Office Deployment Tool.
After you have prepared the XML file, you can download the distribution files to install Office 2019. To do it, run this command:Setup.exe /download configuration-Office2019Enterprise.xml

The distribution is downloaded in quiet mode. You will need the Internet access, files will be downloaded from the CDN Office network.
After the download is complete, the 2GB Office folder will appear in the Microsoft Office Deployment Tool directory (it contains CAB and DAT files to install Office 2019).
You can use this package to install Office 2019 on user computers. To make every computer use the local copy of Office 2019 installation files instead of downloading them from CDN, specify the path to the folder with Office installation files in the XML file. It is easier to copy the folder to your shared network folder. For example:
<Add SourcePath="\\contoso-fs01\Apps\Office2019" OfficeClientEdition="64" Channel="PerpetualVL2019"> We recommend that you test the installation package directly from Office CDN cloud and, if successful, create a local package.
Now you can copy your Microsoft Office Deployment Tool with the XML files and Office 2019 distribution to your shared network folder or to the SCCM server.
To run Office 2019 installation, just run this command:
Setup.exe /configure configuration-Office2019Enterprise.xml

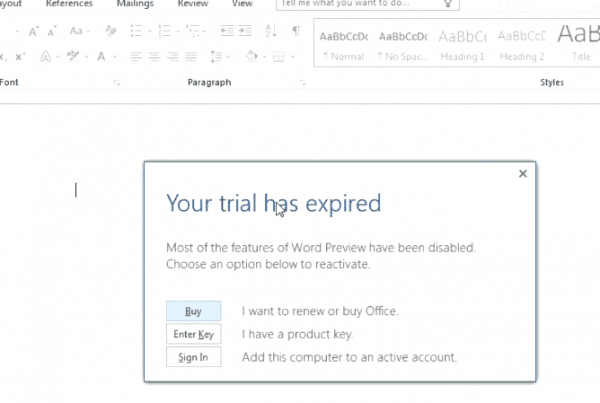
After Office 2019 Enterprise or any of its apps have been installed, you can activate the product using MAK, if you have not specified it in your XML file (File -> Account -> Product Information -> Change Product Key), or using your KMS server (How to install a KMS server to activate Office 2019).
To further configure Office settings on user computers, you can use the Office administrative templates for GPO.