When you install modern Microsoft Office 2019, 2016 and Office 365 versions, you cannot choose to install separate Office apps, change a path to the installation directory, select a language or change any other settings. The full Office package is always installed (all Office apps from Microsoft Office package are installed at once). In the Office Installer interface, the user cannot choose to install only specific applications or change any settings.
Also you cannot uninstall Office apps you are not using by clicking the Change button in Programs and Features. What can you do if you don’t need all the Office apps and want to select the apps to be installed, for example, only Word, Excel, or Outlook? To do this, you will have to use a special deployment tool — Microsoft Office Deployment Tool (ODT) and an XML file with the installation settings.
First of all, let us remind you of an important difference of Office 365 and Office 2019 distributions — these products are installed using Click-to-Run (C2R Installer) instead of a classic MSI package, as in previous MS Office versions. Click-to-Run assumes that all installation files are downloaded to your computer from the Internet (from the Microsoft CDN network).
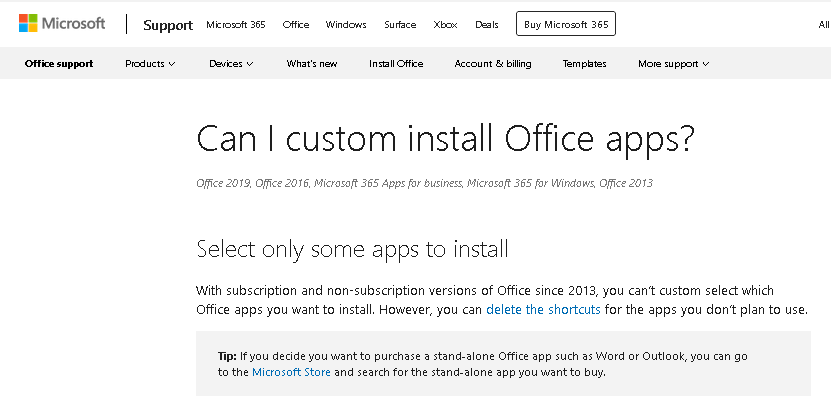
Office Help on the official Microsoft website says that you cannot install custom Office app you need or change the installation path (link) in Office 2016/2019/365. However, it is not true.
Can I custom install Office apps?
With subscription and non-subscription versions of Office since 2013, you can’t custom select which Office apps you want to install. However, you can delete the shortcuts for the apps you don’t plan to use.
To install selected Office apps, download the Office Deployment Tool (ODT) (https://www.microsoft.com/en-us/download/details.aspx?id=49117).
Run the officedeploymenttool_xx-xx.exe file and extract its contents to a local directory (for example, C:\ODT).
ODT allows you to select Office 2019, Office 2016 or Office 365 apps you want to install or uninstall, select a localization language and various app settings.

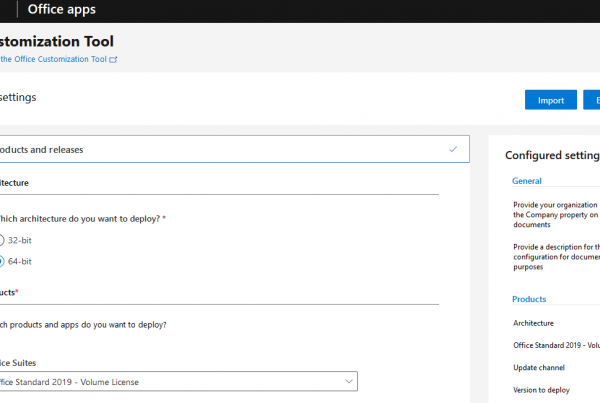
Now you need to create a special XML file with Office installation settings. In ODT directory, there are some sample XML files for Office 2019 (configuration-Office2019Enterprise.xml) and Office 365 (configuration-Office365-x86.xml). You can edit them manually (check the article Deploy Office 2019 in a corporate environment). But it is more convenient to generate a new XML file containing Office installation settings on the official MS Office website https://config.office.com/ (Office Customization Tool). This convenient web form allows you to create a configuration file to deploy MS Office.
Suppose, I want to install only Word, Excel and Outlook from Office 365.
- Click Create a new configuration;
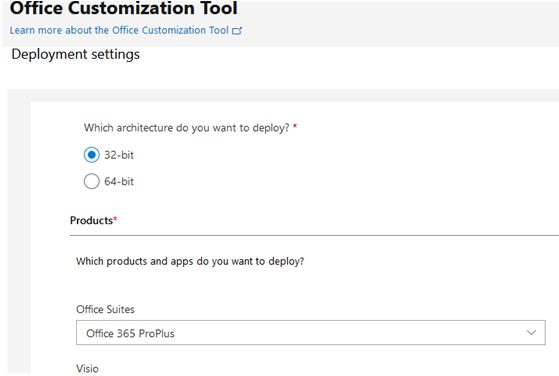
- Select your architecture (32-bit) and product (Office 356 Pro Plus);

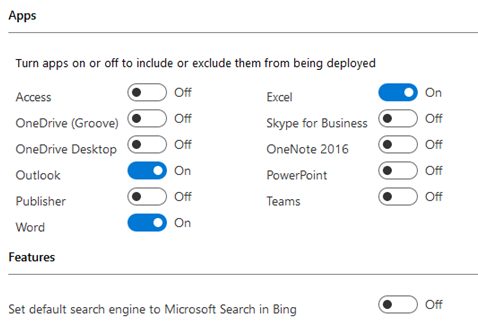
- Select the apps you want to install in the list. I only chose Outlook, Word, and Excel;Note that Groove is OneDrive for Business, and Skype for Business is Lync.

- Then you can select Office language, the source of installation files (it may be CDN or a shared folder on your file server), Office 365 licensing settings. If you create a configuration file for Office 2016/2019, you can specify if you are going to use a KMS server to activate Office or a MAK key;
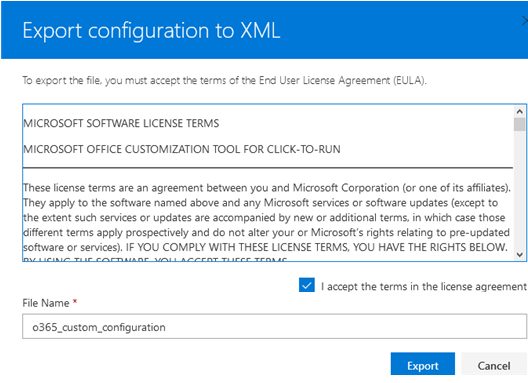
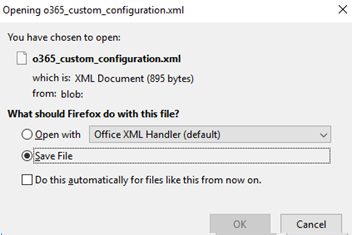
- After specifying all settings, click Export. The wizard will prompt you to enter the name of your XML configuration file and download it to your computer;


Move the XML file (o365_custom_configuration.xml) to the ODT directory.
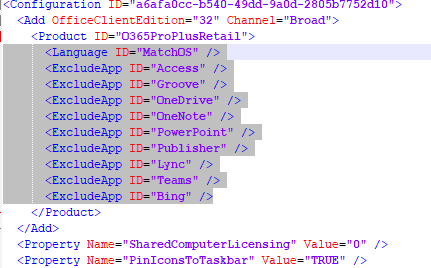
The XML file contains the following lines stating that some apps must be excluded from the Office installation package:
<ExcludeApp ID="Access" />
<ExcludeApp ID="Groove" />
<ExcludeApp ID="OneDrive" />
<ExcludeApp ID="OneNote" />
<ExcludeApp ID="PowerPoint" />
<ExcludeApp ID="Publisher" />
<ExcludeApp ID="Lync" />
<ExcludeApp ID="Teams" />
<ExcludeApp ID="Bing" />
Then run the command prompt as administrator. If when creating an XML file you specified that the installation files are obtained from CDN, run the following command to download Office 365 from CDN (the files will be downloaded from the Internet) and immediately install Office 365 based on the settings of your XML file:
Setup.exe /configure o365_custom_configuration.xml
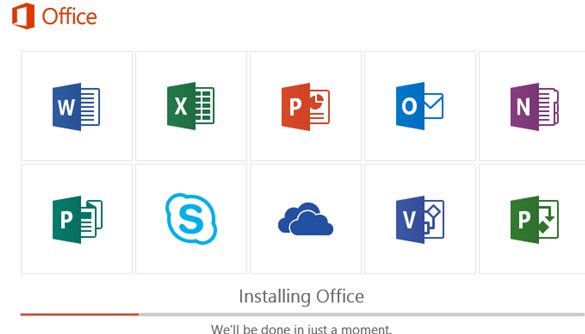
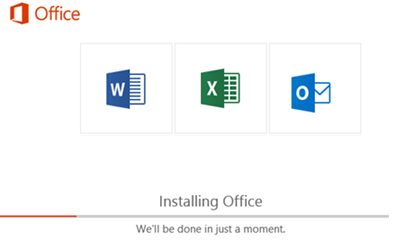
Office will be installed. At the same time, the icons of the apps you have selected will be displayed in the C2R installer window (in my example, only Word, Excel and Outlook are installed).
If you want to install Office from a local drive or a network shared folder on your server, you must download Office 365 distribution files (about 2 GB) to your computer in advance:
Setup.exe /download o365_custom_configuration.xml
As a result, only Word, Excel and Outlook will be installed on your computer. If you want to add another app, for example, Teams, just remove the line <ExcludeApp ID="Teams" /> from your XML file. Save the file and run the same command:
Setup.exe /configure o365_custom_configuration.xml
In the same way, you can remove some apps from the installed Office instance. It is enough to add the apps you want to uninstall to the XML file in this format: <ExcludeApp ID=”Word” /> and change your Office package using this ODT command:
Setup.exe /configure yourconfigfile.xml

