Suppose you want to use the Firefox browser to open .HTML files on all domain computers (you want to associate this file extension with the app).
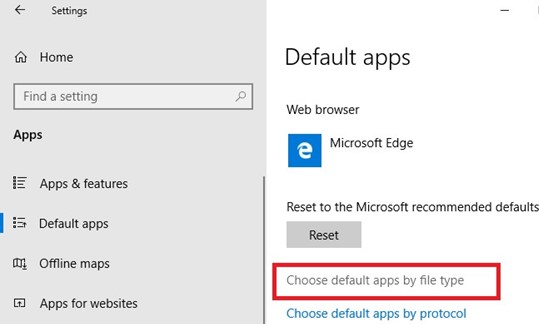
To do this, you need a reference computer with Windows 10 (in this example, the current build 1909 is used) and the installed Firefox browser. To manually create a mapping between a file extension and a program, open the Settings -> Default Apps and click the “Choose default apps by file type” button.
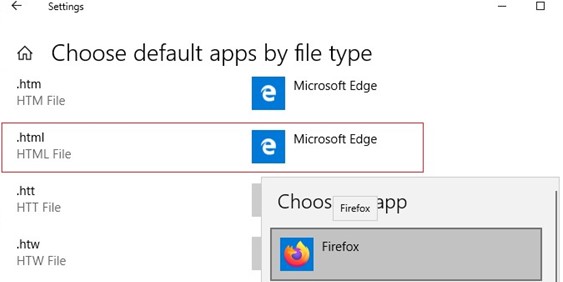
Find the .HTML file in the list of file extensions and use the “Choose a default” button to change the default program to open html files from Microsoft Edge to Firefox.
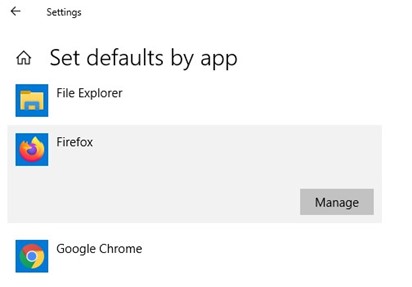
You can automatically assign a specific app with the file extension for which it is registered. To do this, select Set default by apps in the Default Apps section, find your program in the list and click the Manage button.
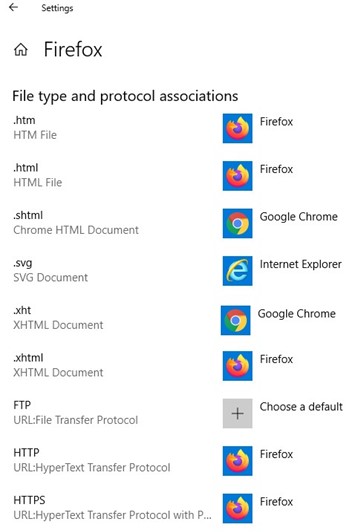
The next screen contains a list of file types supported by the application. Select the file extensions that you want to open with Firefox.
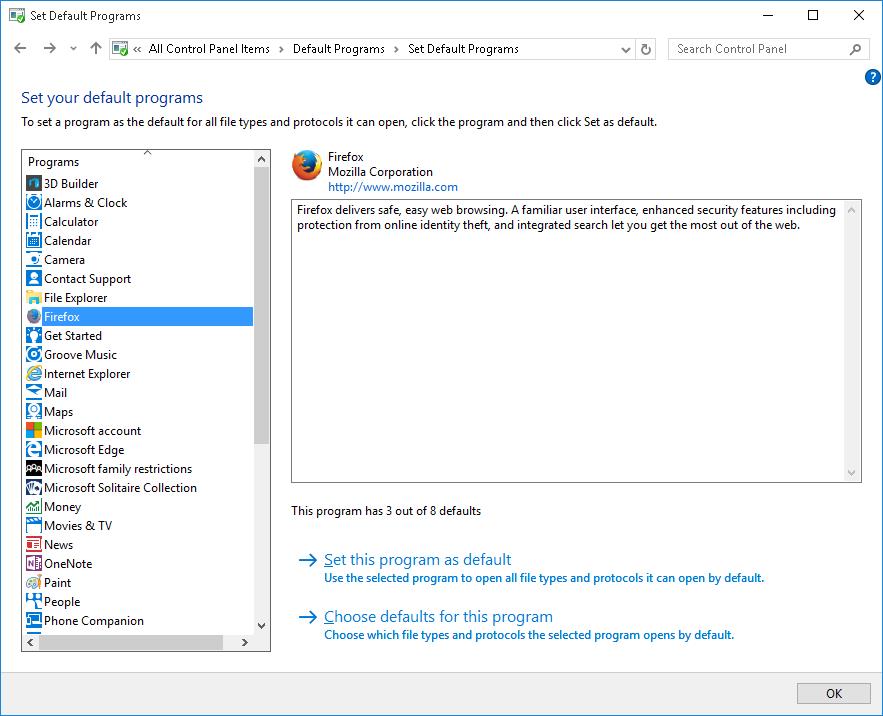
In older Windows 10 builds and in Windows Server 2016, you can assign default app associations through the classic Control Panel. Go to the Control Panel -> Default Programs -> Set Default Program. Find Firefox in the list of programs and click “Set this program as default”. Thus, Firefox will be assigned as a default program to open all supported file types.
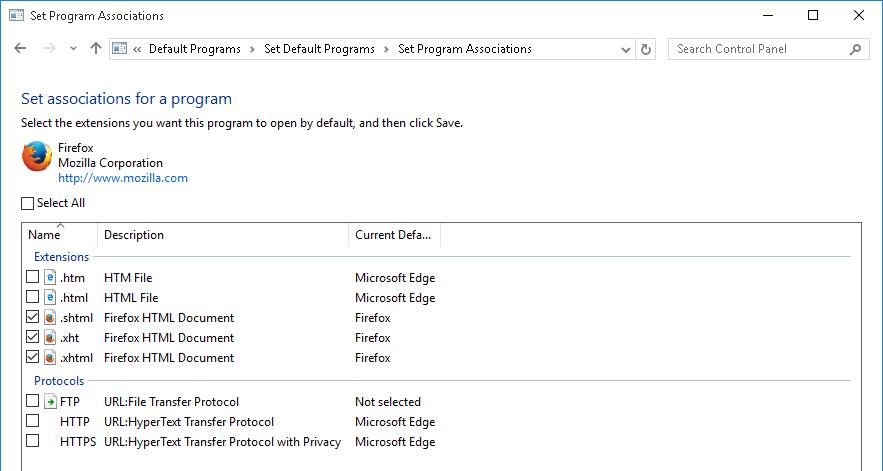
If you need to select specific file extensions, click Choose defaults for this program and check the desired file extensions.
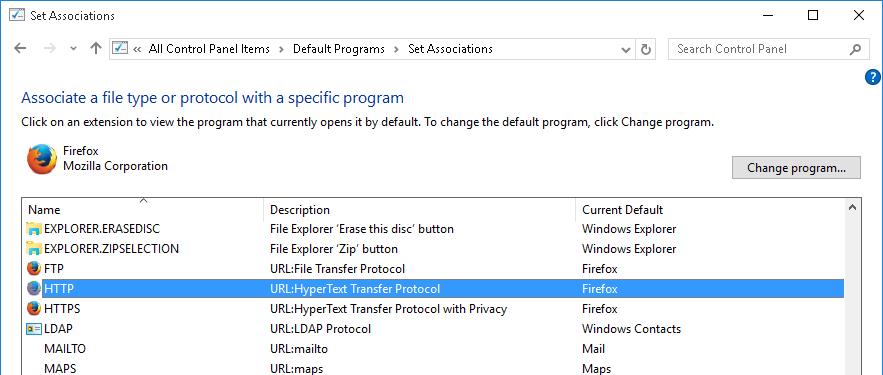
You can check the current associations for the files with the .html extension in the Programs -> Default Programs -> Set Association section of the Control Panel.
Exporting File Associations on Windows 10 to the XML file
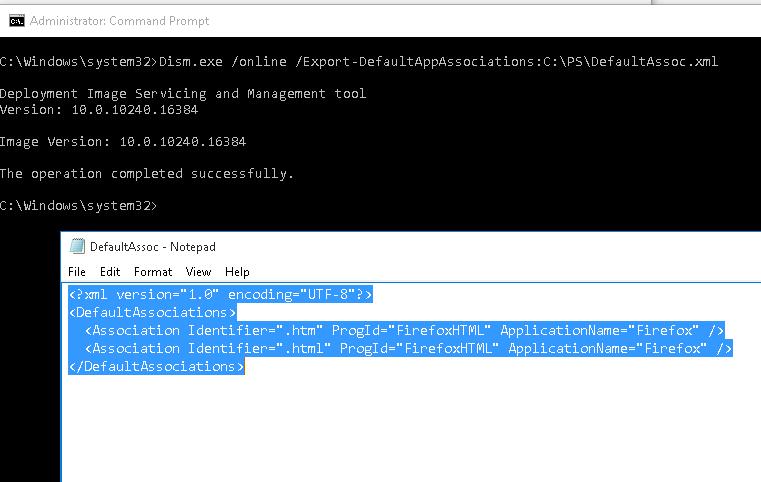
You can export the current configuration of file associations to the XML file using DISM:
Dism.exe /online /Export-DefaultAppAssociations:C:PSDefaultAssoc.xml
The command will save all the program associations you have configured on your user profile to the XML file. You can open the DefaultAssoc.xml file in any text editor, and see the full list of file associations exported. If you need to use only a part of associations from this list (in order not to override the existing user settings), you can manually edit the XML file. Leave only the lines with the file extensions you need. For example, we’ll leave the following lines for HTM and HTML extensions:
<?xml version="1.0″ encoding="UTF-8″?>
<DefaultAssociations>
<Association Identifier=".htm" ProgId="FirefoxHTML" ApplicationName="Firefox" />
<Association Identifier=".html" ProgId="FirefoxHTML" ApplicationName="Firefox" />
</DefaultAssociations>
Importing Default App Associations on Windows 10
The resulting XML file can be imported into a Windows 10 on other computers using DISM tool:
Dism.exe /Online /Import-DefaultAppAssociations:C:PSDefaultAssoc.xml
Important. These settings to map file extensions to apps will be applied only to new user profiles during the first logon.
If you manually edited the XML file and imported it through DISM, in some Windows 10 builds you may encounter multiple errors “App default reset notification” at first logon. Microsoft does not recommend to manually edit this XML file.
You can also import these settings to the offline Windows image in the WIM file. First, you have to mount the image:
Dism /Mount-Image /ImageFile:C:mntimagesinstall.wim /MountDir:C:mntoffline
And then import the XML file:
Dism.exe /Image:C:mntoffline /Import-DefaultAppAssociations:\Server1ShareDefaultAssoc.xml
Tip. The current settings of file associations in the offline Windows image can be obtained using this command:
Dism.exe /Image:C:mntoffline /Get-DefaultAppAssociations
Set Default File Associations with Group Policy
Windows 10/8.1 introduced a new Group Policy (GPO) option that allows you to apply an xml file with file association settings to all current users on a computer.
This policy named Set a default associations configuration file is located under Computer Configuration -> Administrative Templates -> Windows Components ->File Explorer.
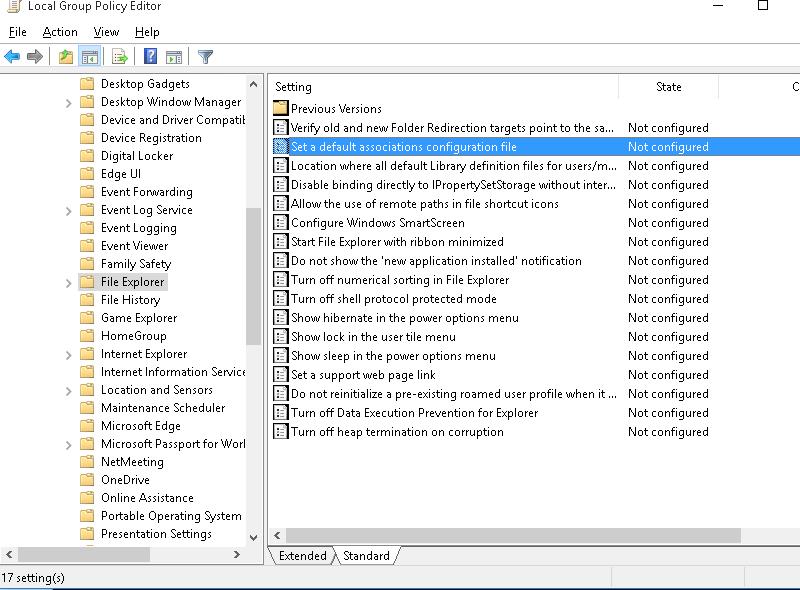
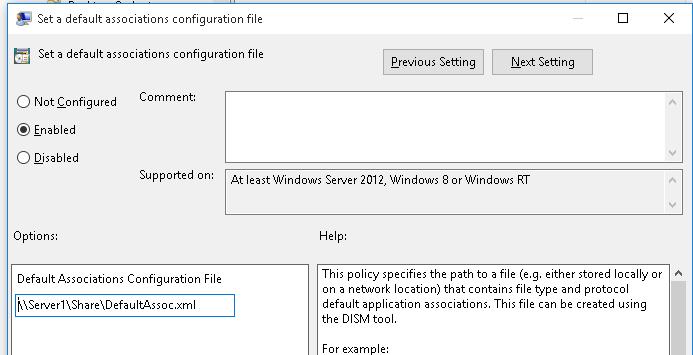
Enable the policy and specify the UNC path to your XML file. It can be located on a shared network folder, SYSVOL directory on the domain controller or pre-copied to the computers using GPP or SCCM.
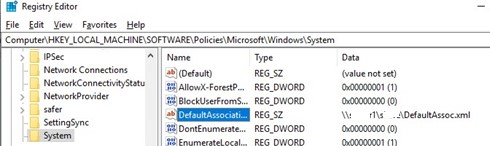
The new file association settings will be applied to all users of the computer after the next login.The path to the XML file with the new file association settings is contained in the DefaultAssociationsConfiguration registry parameter under the key HKEY_LOCAL_MACHINESOFTWAREPoliciesMicrosoftWindowsSystem.
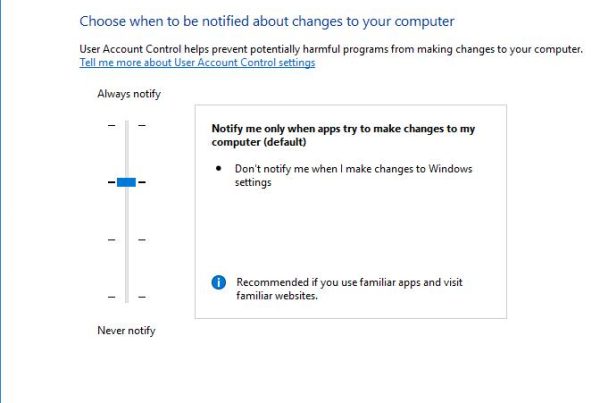
Since Windows 10 tracks changes in the file association settings, the first time you try to open an HTML file, a window may appear confirming that Firefox is used as the default program to open this file type (the request appears only once). Such a request will always appear after installing a new application, that is registered to open an existing file type or protocol. You can hide these notifications by enabling the policy “Do not show the ‘new application installed’ notification” in the same GPO section.When working in Windows, a user can reassign these file associations. However, during the next logon, user’s file associations settings will be overwritten by the GPO with the settings from the XML file.
Changing File Association on Windows 10 via Registry
As I said above, in Windows 10 the way to set file association options has changed. In the previous section, we showed you how to configure the association for the .html file type with a Firefox browser through an XML file and Group Policy. Now let’s see how it looks in the Windows 10 registry.
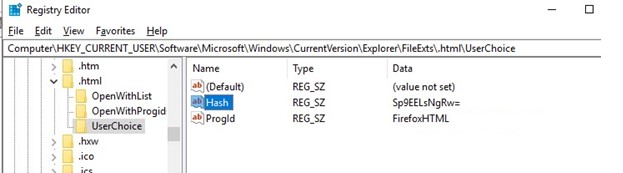
Run the Registry Editor (regedit.exe) and go to the registry key HKEY_CURRENT_USERSoftwareMicrosoftWindowsCurrentVersion ExplorerFileExts.htmlUserChoice. This registry key contains the association settings for the html file extension. Please note the following registry parameters:
- ProgId – this is the identifier of the registered app for opening this file type. This app is specified in the XML file. If a long identifier is specified instead of the application name, then the file association with the modern UWP (Metro-style) application is configured.
- Hash – a hash value that is automatically generated to validate matching the type of files with the program. The presence of this hash ensures that the user or administrator (through the GPO) has configured this file mapping. This security mechanism is needed to protect users from malicious programs that can replace file associations without user’s approval.
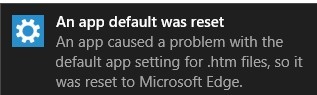
If you try to manually change the ProgId registry value and associate another program, the Hash value will cease to be valid. In this case, Windows 10 will automatically reset the file association settings to the default state. In this case, the user will see a notification:
An app default was reset.
An app caused a problem with the default app setting for .html files, so it was reset to Microsoft Edge.
Accordingly, in Windows 10/Windows Server 2016 you won’t be able to configure file mapping through the registry, as it worked in Windows 7/Windows Server 2008R2.You can find on the Web the unofficial SetUserFTA.exe tools, which allows you to calculate the hash and map the specific file extension to program 21through the registry.
How to Reset File Associations in Windows 10?
Using the following command, you can reset the settings of file associations imported earlier:
Dism.exe /Online /Remove-DefaultAppAssociations
After running this command, all new users will be logged with the default file association (the reset has no effect on the existing user profiles).
In order to reset the file associations manually configured by the user to the default ones, you need to click on the Reset button in the Settings -> Apps -> Default Applications.
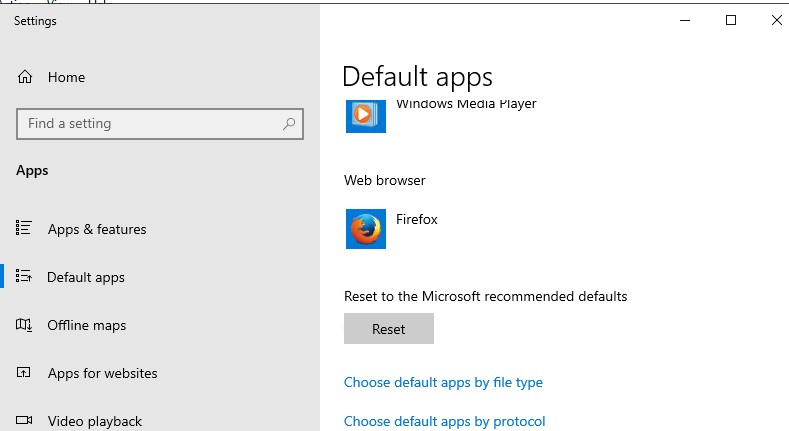
In this case, all file associations will return to the state of clean Windows 10 installation.

